
Looking for a new hobby? Here’s one that’ll stick with you
Tiny tufting? It works. Provided you have enough stamina and the right DIY set for beginners.
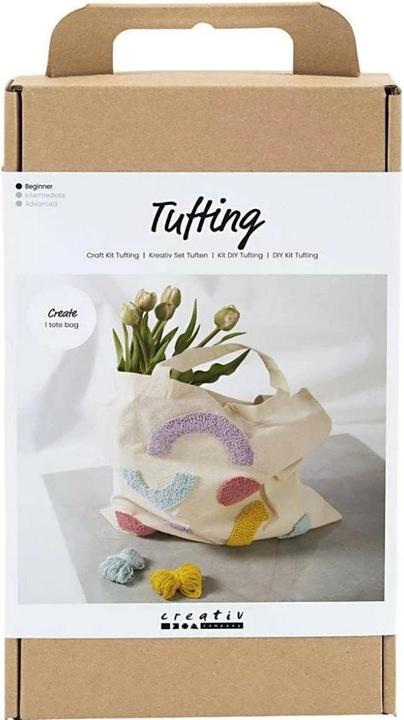
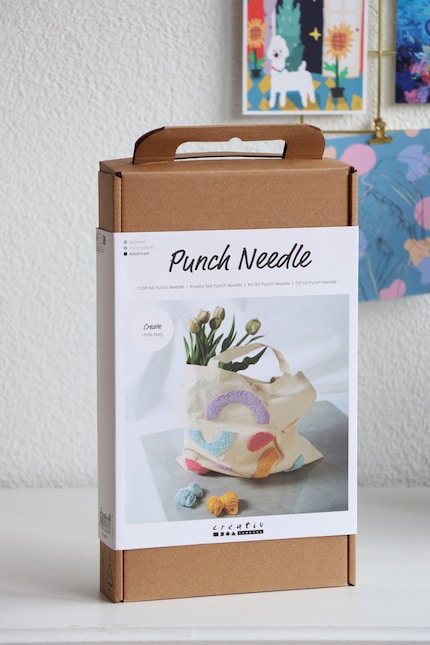
The advantage of a premade DIY set is that you can try out new hobbies within a small, defined framework. No need to buy every individual tool at great expense. And no signing up for a course. Inspired by fellow editor Pia Seidel’s tufting article – tufting is a process used to make carpets – I’d also like to try my hand at using a punching needle. The punch needle DIY set from Creative Company is perfect for this. The big difference here is that I won’t be working with an automated tuft gun, but on a small scale using a manually guided needle. The end result also isn’t a flat carpet, but a modest decoration on a fabric bag. Read on to find out what the kit can do and whether it has enough to get me excited about a tufting course.
Source: Natalie Hemengül
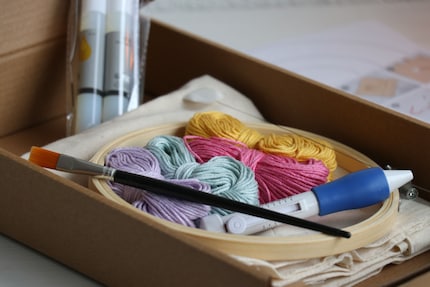
The kit contains:
- illustrated step-by-step instructions
- sample sheet
- cloth bag
- four colours of yarn, 10 g each
- embroidery hoop with a 15 cm diameter
- punch needle
- wire-threading aid
- 2 tubes of glue
- brush
I also grab my small scissors and a pencil.
Source: Natalie Hemengül
Initial preparation
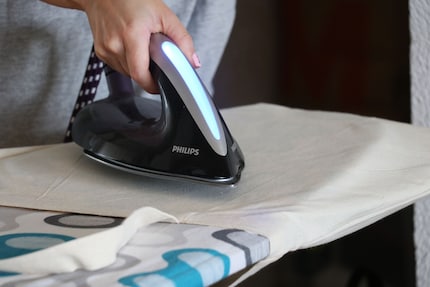
I carefully cut out the patterns from the sheet and pick up the fabric bag. Unfortunately, it’s heavily creased and riddled with deep furrows. Will this become a problem when tufting? To avoid any complications, the bag first gets familiar with my iron, but I still can’t get all the furrows out with it.
Source: Natalie Hemengül
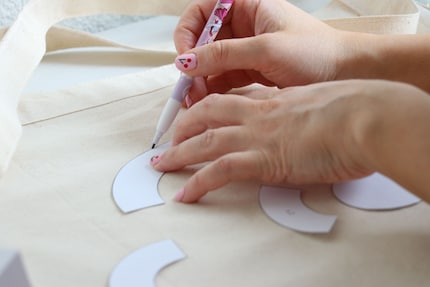
I then turn the bag inside out (an important step that I almost forgot), invert and arrange the elements, and transfer the outlines onto the fabric with a pencil.
Source: Natalie Hemengül
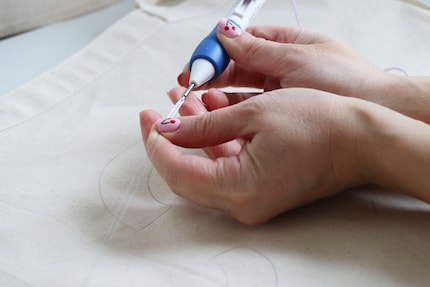
The instructions in the set are illustrated in colour, and in some places even have QR codes that lead to the manufacturer’s website. Among other things, I also find a link to a video tutorial there. Thank goodness! The clip and the wire threading make this step child’s play. Well, almost.
Source: Natalie Hemengül
While threading, I suddenly realise that a crucial part is missing from the hand piece of my punching needle – the needle. I search frantically in the box and between the individual balls of yarn, fearing the worst: it’s fallen out or wasn’t even included. A few hysterical minutes later, I wonder if perhaps the needle is in the pen itself and I just have to push the slider up to make it appear. Presto, a needle. Unfortunately, this small but important step isn’t mentioned in any of the instructions. In the end, the only thing that counts is that the thread’s in place.

Source: Natalie Hemengül

Source: Natalie Hemengül
You can choose between twelve levels using the controller. The higher the number, the longer the loop that’ll be visible on the front of the bag. I loosen and fix the regulator using a screw mechanism. This requires a little patience and a good eye, as there’s a notched marking on both sides of the regulator located on a small metal plate. It’s difficult to spot. I have to bring it to the same height as the lines next to the numbers. At least that’s my personal solution, the right way isn’t exactly stated anywhere. I opt for level five.
Only the embroidery hoop’s missing. It’s quickly fitted, stretching the fabric.
Off I go
I still don’t understand what principle is at work in tufting. How does the thread move through the fabric? Why does it get stuck at exactly the desired length? Questions without answers. My imagination has reached its limit. The main thing, it works. The first stitches are awkward, but quickly become even. My learning curve is also quickly rising, more on this below.
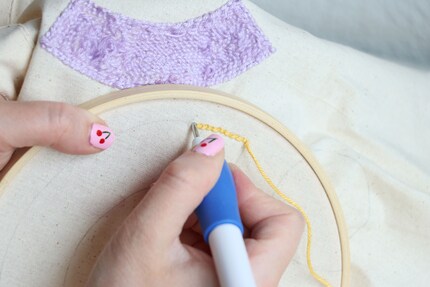
First I stitch along the contours, then I fill in the shapes. It takes a lot of strength, but not that much concentration once you get the hang of it. But careful: the needle is extremely sharp. Combined with the force I have to exert on it to get through the fabric, punching quickly becomes a dangerous undertaking. So I can’t switch my brain off completely. I constantly check where my fingers are behind the fabric. Sometimes I also lean the frame against my knee. High-risk behaviour, clearly.
Source: Natalie Hemengül
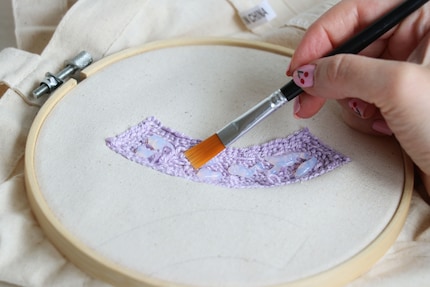
Once an element is finished, it has to be glued together using glue and a brush. Incidentally, I find this the most fun part of the whole process. I take great care to catch the outer threads so that everything holds well later. The glue dries after about 30 minutes.
Source: Natalie Hemengül
One bag and a few insights richer
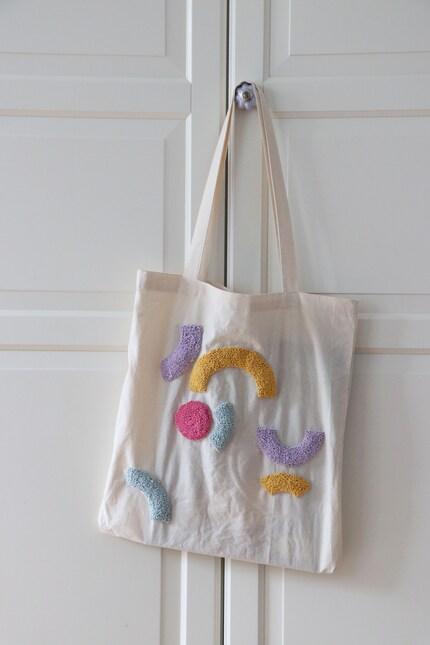
The project took me about five and a half hours. And the result is quite impressive. I love what I’ve created, even if it has demanded a lot of strength and perseverance from me. But if I had been given the following tips beforehand, I could’ve avoided one or two missteps.
- Think carefully beforehand about the order in which you want to punch the elements. After all, the embroidery hoop could get in your way. Make sure that none of the already-tufted motifs are caught between the two components of the embroidery hoop. It also helps if you don’t arrange the elements too close together from the start.
- Always push the needle through the fabric as far as it’ll go. This is the only way to make all loops the same length.
- Pull out the needle point very carefully and keep the point as close to the fabric as possible, otherwise the punched loop will come loose. It’s best to place the next stitch as close as possible to the previous one.
- It’s best to always hold the needle the same way. This makes punching easier.
- Punching at too fast a speed pulls heavily on the fabric. Once it is perforated, the fabric can no longer be embroidered. This can cause unsightly bald patches.
- Keep an eye on your ball of yarn. As soon as the thread becomes wedged at the rear end of the pin and the yarn feed comes to a standstill, punch a hole in the fabric.
- Stitch with a system. Wild, chaotic tufting leads to an unclean result and gaps.
- Seal each finished tufted element with a layer of glue. This way you can make sure the stitches don’t come loose while you’re already working on the next motif. And believe me, your hand will thank you for the short breaks.
- Some flaps are too loose and stick out when you look at them from the front. You can simply trim them later with nail scissors. As the tabs are glued to the back anyway, the cut threads won’t fall out.
Source: Natalie Hemengül
In a nutshell
New hobby unlocked
Pro
- high-quality materials
- plain packaging
- appealing colours, pretty design
- illustrated, double-sided instructions with video
- perfect for newbies
Contra
- strength and stamina are essential

As a massive Disney fan, I see the world through rose-tinted glasses. I worship series from the 90s and consider mermaids a religion. When I’m not dancing in glitter rain, I’m either hanging out at pyjama parties or sitting at my make-up table. P.S. I love you, bacon, garlic and onions.
